Download the Guidebook App and find the
2015 Wyoming State Music Conference
Our conference has gone paperless – with Guidebook! If this is your first time using a Guidebook app, you’ve come to the right place. While the app is, new technology can be daunting and confusing at times. This tutorial will help to give you the tools to navigate Guidebook like a pro, and make the most of your conference experience!
1. Downloading Guidebook
First, you will want to download the app. Follow any of the steps below in order to access Guidebook on your mobile device/desktop computer. Note: You will need an internet connection for this step.
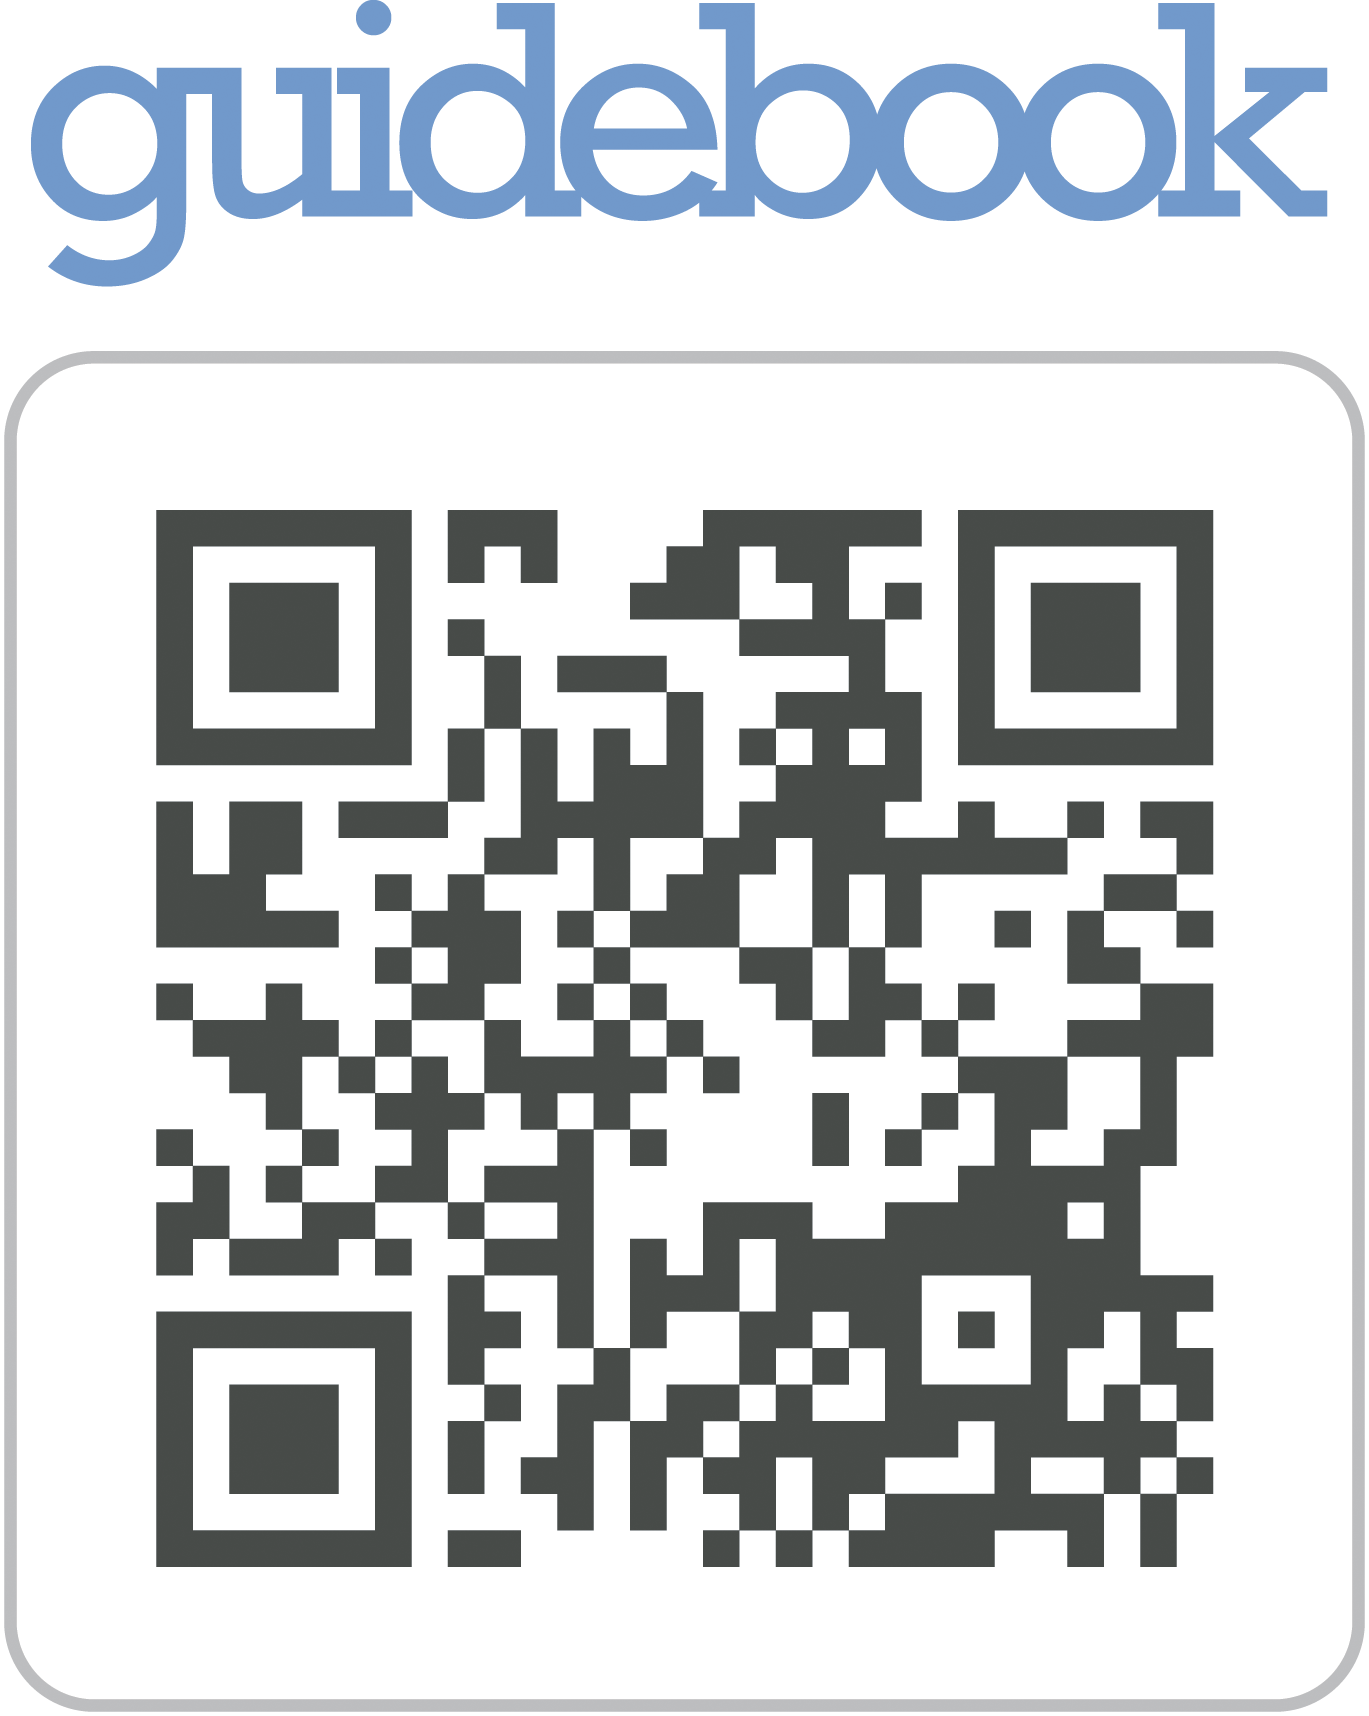
- Scan this QR Code:
- Navigate to guidebook.com/getit on your device’s web browser.
- Go to the app store and search for “Guidebook”
- For desktop users or users with Windows Phones or non-Blackberry 10+ devices, navigate to guidebook.com/browse in your web browser (at this time, they only offer a native Guidebook app for iOS, Android, Blackberry 10+, and Amazon Kindle).
Follow the prompts on your screen, and the app will download.
2. Accessing your Guide
Now that you’ve got the Guidebook app, you’ll want to download the guide to our conference as soon as it becomes available! Open up the Guidebook app on your device to get started. Note: Internet access is required for this step.
iOS users (iPhone, iPad)
- Tap on “Download Guides” in the bottom left of the screen.
- Click on the top search bar “Search all guides”. Type in 2015 WMEA State Music Conference, and tap on “Search” or “Return” in the bottom right of your keyboard. Scroll through the results, and tap on our event to download.
- Once our event QR code is ready, you can select the scan option. Center your camera on the QR code, and it will automatically scan the code and take you to the guide. (check back on this page for QR code)
If you accidentally download the wrong guide, no worries! From the “My Guides” screen, either tap the “x” on the bottom right of the guide that you wish to delete, or swipe from left to right over the guide. You will be prompted to delete the guide.
Android users
- Tap on the “downward facing arrow” (see below) button to access the “Browse Guides” screen.
- Click on the top search bar “Search all guides”. Type in 2015 WMEA State Music Conference, and tap on “Search” or “Return” in the bottom right of your keyboard. Scroll through the results, and tap on your event to download.
- Once our event QR code is ready, you can select the scan option. Center your camera on the QR code, and it will automatically scan the code and take you to the guide. (check back on this page for QR code)
If you accidentally download the wrong guide, don’t worry! From the “My Guides” screen, tap the “x” button on the top right of the guide that you wish to delete. You’ll be prompted to delete the guide.
Desktop, Windows, non-Blackberry 10 users
- On your phone’s web browser (Chrome, Internet Explorer, etc.), type in m.guidebook.com
- Click on the search bar below “Select a Category”. Type in 2015 WMEA State Music Conference, and tap on “Search” or “Return” in the bottom right of your keyboard. View the results, and click on your event to download!
- Note: If you are able to download a native app for your phone, a small “Get the Guidebook app” banner will appear at the top of your screen. Click this to download the native app.
3. Navigating your Guide
General Navigation and Searching:
- For iOS devices: Swipe the screen from right to left to access additional pages of icons and content. If there are no more pages, swiping will have no effect. Swipe from left to right to access prior pages, and swipe your page from top to bottom (for Guidebook versions 3.2+. For versions <3.2, continue swiping left to right) to view the global search feature (type in any word or phrase to search for it within the Guidebook app). Tap any icon to access the content within.
- For Android: Tap the
 icon in the top left of your screen to access the content drawer. Scroll down to see all guide icons and content. Tap any icon to access the content within or touch the
  icon once more to hide the drawer. The content drawer is accessible at any time by tapping this
  icon in the top left of your screen. The Android search functionality largely depends on the device’s native hardware buttons:
– For devices that have a hardware “search” button (typically a magnifying glass icon), simply tap this button while in the app to perform a search
– For devices lacking a “search” button, but containing a “Menu” button, just tap the “Menu” icon to load the contextual menu. Here, select “Search Guide” to perform a search
– For devices with neither of the above, tap on the contextual menu button on the top right-hand side of the screen (looks like three squares stacked vertically), then tap the “Search Guide” option to do a search - All other devices: Scroll down to view the icons and content within the guide. Tap on any icon to load its details! Use the web browser’s built-in back button to navigate back within a guide, and use the built-in “Find” function to search for any information on page. Unfortunately, the m.guidebook.com version offers limited search functionality compared to the native application.
Guide Features
The majority of the content in Guidebook can be accessed simply by tapping on icons. This section will explain in more detail the function of each Guidebook feature you may encounter. Note: The icons displayed next to each header represent popular/default icon sets for each module. The icons in your specific guide may differ.
- General Info

- Click here to view high-level details about the event. Depending on your event organizer, this section may contain a welcome letter as well as a quick link to the main venue of the event.
- Schedule and Schedule Tracks
 &
& 
- The schedule module will contain all of the sessions for your event sorted by date and start time. Tap on any session to get more information or to add the session to your personalized schedule (More on “My Schedule” below).
- iOS only: Swipe a session to add the session to your personalized schedule (More on “My Schedule” below)
- Android only: Tap and hold a session to add the session to your personalized schedule (More on “My Schedule” below)
- To switch between days, tap the arrow to the side of the displayed day or tap on the date itself to load a dropdown menu of all event-filled dates. Tap on any of the dates in the menu to open the schedule for that day.
- Within a session, you may be able to see information about time and location of the sessions; the session may also contain links to other places within the guide, or to external locations on the internet. If a location is tied to a map, you will be able to tap the location name to see more information about where the session is hosted!
- Sessions may be color coded to denote specific tracks and audiences for the sessions. A schedule track functions identically to the full schedule. The track exists as a segmented version of the larger schedule, tailored specifically to a particular sub-group of the conference. For example, a school may have a full schedule of all math, history, and science courses; a sub-listing of only math classes might serve as a Math Schedule Track.
- My Schedule
- Create a personalized schedule, with reminders, from any of the existing sessions in your app.
- To add an item to your schedule:
- Open up any schedule in the app.
- iOS: Swipe a session to add the session to your personalized schedule
- Android: Tap and hold a session to add the session to your personalized schedule
- Alternatively, you can tap into a session and navigate to the bottom of your screen. You’ll notice an “Add to My Schedule” button, which you can click.
- You can also tap on the “My Schedule” icon and follow the prompts within.
- Remove items from your personalized schedule the same way you added them.
- If you create a User Login (see below), your My Schedule data will sync between devices.
- Lists

- Lists can be used to support almost every type of content. Common uses of lists include: Restaurants, Sponsors, Exhibitors, and Speakers/Presenters.
- Click on a list icon to display all the items within the list. You can use the top search bar to find quickly any list items.
- Tap on any of the list items to see more information, or to add the list item to your personalized Todo list (More on “To-do list” below).
- Within a list item, you may be able to see more information such as where the item is located (Booth locations for exhibitors, for example) or specific contact information for presenters. Sponsor list items may contain logos and company information. If a list item has a location affiliated with a map, you may be able to tap on the location name to find out more details!
- To-do List
- Create a personalized to-do list from any existing list items in your app or your own custom entries.
- To add an item to your todo list:
- Open up any list in the app.
- iOS: Swipe an item to add it to your to-do list.
- Android: Tap and hold an item to add it to your to-do list.
- Alternatively, you can tap into a list item and navigate to the bottom of your screen. You’ll see an “Add to To-Do” button, which you can click!
- You can also open the “To-do List” and follow the prompts within to add your own custom items or any existing items from the guide.
- To cross out an item on your to-do list, simply tap on it!
- If you create a User Login (see below), your To-do list data will sync between devices.
- Note: Your event planner may have disabled to-do functionality on some of the items. If the methods above do not work, you can check with them to see if this is the case.
- Maps
- The Maps module can contain several maps to help you find your way around your event. Often, you will find a hotel floor plan, exhibit hall layout, or a map of POIs near your main event.
- Some maps may be “Interactive.” Try tapping around the map — you may find that certain locations are linked to specific sessions and items. If so, you can tap the session or item that pops up to learn more information about the particular event. Note: Interactive maps are not yet supported on m.guidebook.com
- You can also search a map for a particular location; try tapping into the map search bar to find specific points of interest!
- Inbox

- The inbox is a one-way communication mechanism from your event organizer to you! During the event, the organizer may send out important updates. Some may appear as “push notifications” (they will appear even if you aren’t using the guidebook app), and others will only appear when you have the guide open. Be sure to enable push notifications for your Guidebook app, otherwise you may miss out on some crucial news from the event planner.
- If you have any unread messages, the inbox will display a small circle with a number indicating how many messages you have yet to open.
- You cannot send messages to the event planner nor other attendees through the inbox.
- Attendees/Connect & User Log-ins

- The Attendees/Connect and User Log-in features bring a whole new level of networking to an event.
- You will also be able to check-in to the event (tap on the Attendees icon, and then click “Check In” at the bottom of the screen), so that others can network with you via contact card sharing.
- To request a user’s contact information, find their name in the Attendees module and tap the “+” to the right of their name. This user will need to approve your request before you can view their details.
- If an attendee or vendor requests your contact information, a notification (denoted by a blue circle) will appear in the top right of your screen (iOS) or in the content drawer (Android). Tap on this notification to see your pending requests. To approve, tap the “+” icon to the right of the requester’s name. To deny, tap the “X” icon.
- My Schedule/To-do list entries store to User Log-ins to enable data syncing between devices
5. Hurray!
If you’ve read this far, you’re likely a Guidebook pro! You’re ready to get the most out of our conference!

